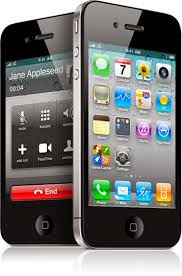
 IPhone folders allow you to reduce clutter on your iPhone's home screen and group similar apps together. For instance, with a folder, you can put all of your games into a single place and have them take up just one icon on the screen, rather than take up pages of icons. As long as you're running iOS 4 or higher, you can create folders.
1. To create a folder, you'll need at least two apps to put in the folder. Figure out which two you want to use.
2. Tap and hold one of the apps until all apps on the screen start shaking. This is the same process as you use to re-arrange apps.
3. Drag one of the apps onto the other. When the first app seems to merge into the second one, take your finger off the screen. This will create the folder.
4. What you see next differs depending on what version of the iOS you're running. In iOS 4-6, you'll see the two apps and a name for the folder in a little strip across the screen. In iOS 7 and higher, the folder and its name will take up the entire screen. If you want to add more apps to the folder, tap the wallpaper or press the home button and then keep dragging them into this area.
5. You can edit the name of the folder at this stage (or later) by tapping on the name and using the onscreen keyboard.
6. When you've added all the apps you want to the folder and edited the name, click the Home button on the front center of the iPhone and your changes will be saved (just like when re-arranging icons).
7. To edit an existing folder, tap on the folder and hold until it begins to move. Tap it a second time and the contents on the folder will be revealed at the bottom of the screen. Drag more apps in to add them or drag them out to remove them. Edit the name of the folder by tapping on the text. Click the Home button when you're done.
8. To delete a folder, simply drag all the apps out of it and then press the Home button to save that change.


Post a Comment